Managed
Solr Search
The SearchStax Solr-as-a-Service solution
gives developers their time back and automates a huge chunk of this operational
work without making them code any flexibility or give up any control over their
Solr infrastructure.
Managed Solr
Why Managed Solr?
- Built-in Alerting and Monitoring Dashboard
- Backups
- Disaster Recovery
- Scaling Up, Down, and Auto-Scaling
- Private Environments
- Security and Compliance
How to integrate with Sitecore?
Step 1:
- Start the free trial
https://www.searchstax.com/freetrial/
Step 2:
- Create new Deployment
Special Note :
- Check the compatible Solr version for your Sitecore instance.
https://support.sitecore.com/kb?id=kb_article_view&sysparm_article=KB0227897
- Create your deployment & you will land this page.
- It’ll take few minutes for finish the deployment. You can go to break until it’s done.
- You would receive the email , once it deployed.
Received Email :
Step 3:
- Open the Solr Service URL
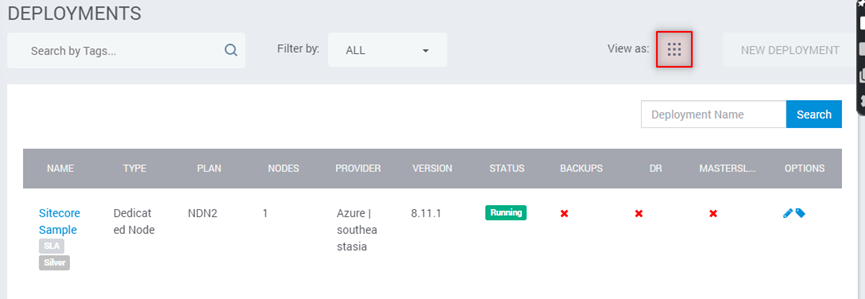
- Once you create your deployment, you will see it in the Solr Deployments dashboard.
- You can access the Solr now,
Step 4:
Secure Zookeeper with an IP Filter
This term is very new to me, are you feeling same???
Let’s know about Zookeeper
What is ZooKeeper?
- Zookeepers are a central repository for SolrCloud configuration. You can consider it as a distributed filesystem which can be accessed by all Solr nodes in the cluster. So if you change any config file you just need to inform or upload it to Zookeeper and not on every node in the cluster.
- One more important responsibility of Zookeeper is to keep an eye on the state of all Solr nodes in the cluster. If any node goes down and a search request comes in for that node, Zookeeper routes it to an alternative replica node.
- When you are updating any document in SolrCloud, it is zookeeper who delegates your update request to the appropriate node in the cloud holding the document
How can I secure Zookeeper?
When SearchStax creates a new Solr deployment, we lock down
the Zookeeper ensemble so that it cannot be reached from the Internet. To
upload a configuration to Zookeeper, you have to add an IP Filter that
whitelists your work computer or subnet.
Let’s do it
- Click on the name
- Go to the detail page
- Remove the existing row
- Add new row
- Then save changes.
we need to
wait for 5 minutes to reflect the changes.
Step 5:
Install PowerShell Core and Yaml Module
- Check powershell version - $PSVersionTable
- Install Powersheel 7 -
iex "& { $(irm https://aka.ms/install-powershell.ps1) } -UseMSI"
- start Powershell Core as the Administrator.- Install-Module powershell-yaml
Verify powershell core
Step 6:
Run the SearchStax Sitecore Plugin
- The SearchStax Sitecore Plugin must be run on the same Windows computer as your Sitecore instance
Download the Plugin
https://github.com/searchstax/searchstax-sitecore-plugin/releases
- Extract the file
Connect Solr with sitecore instance
- Edit the config.yml file in the searchstax-sitecore-plugin-x.y directory.
Windows Powershell Core:
- Set-ExecutionPolicy -Scope Process -ExecutionPolicy Bypass
- Run the sitecore-searchstax-connector.ps1 script.
- Windows Powershell Core:
- .\sitecore-searchstax-connector.ps1
- We can find some configuration once it done , please follow that..
Before connecting
After connecting
Step 6:
Populate Schema from the Control Panel in Sitecore
Log in to the Sitecore Content Management environment.
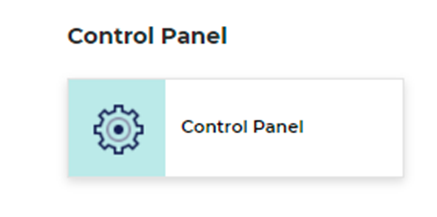
- Open the Sitecore Control Panel.
In the Indexing tab, click Populate Solr Managed Schema
- Select all indexes and click Populate
- On the same page, go to the Indexing Manager, select all, and click Rebuild.


No comments:
Post a Comment